When I saw the stamp below (which includes the words beneath it, I just new it begged to be shaded and colored. This stamp is from the hostess set Life's Adventure. To see a prior project made using an image from this set, click here.
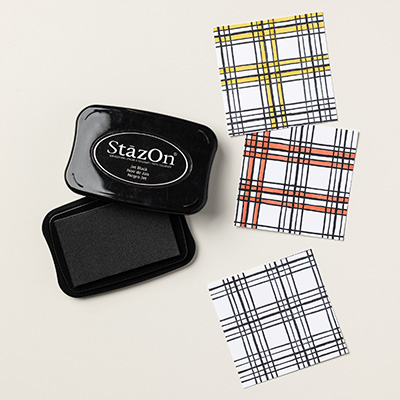
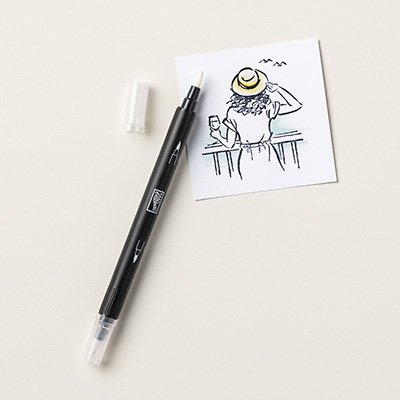
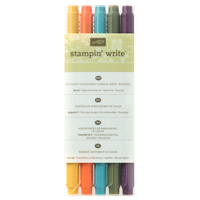
For this card, I stamped the image on Stampin' Up! watercolor paper with Black Staz-On ink. Then using the Lost Lagoon & Hello Honey Stampin' Write Marker, I colored it in. I kept the left hand side of the image softer as if there was a light source on that side. After I applied marker to the right side of the image right next to the black outline, I used the blender pen to soften and "drag" color across the white space of the image, getting lighter as I moved to the left side. The base of the cake stand was colored using a mix of Lost Lagoon & Early Espresso Stampin' Write markers using the same technique. Using the amazing Stampin' Trimmer with the rotary addition, I cut the rest of my layers.
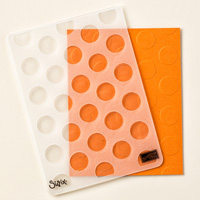
Using Sticky Strip, I adhered the watercolor piece to the Lost Lagoon colored layering pieces. (There are two) One layer was from a piece of a gorgeous design from the Flower Pot Designer Series Paper, the other was from the Lost Lagoon Cardstock. I set this group of papers aside. Using a piece of Hello Honey Cardstock to fit the front of the card, I embossed it using the Big Shot and the Polka Dot Textured Impressions folder. Using Sticky Strip, I adhered that piece to the front of a folded card base made from Lost Lagoon Cardstock. At that point, I tied Lost Lagoon 3/8 inch Satin Stitched ribbon around the top of the watercolor paper group, then using Dimensionals (I doubled them up for a more dramatic effect), I adhered it to the front of the card. The finishing touch was a tiny jewel from Rhinestone Basic Jewels. Isn't this pretty??
Don't forget about the Big Shot and Bundle Special! More info here. Purchase the Big Shot and receive a Bundle free. There are 5 stamp sets with matching framelits available. Just think, no "fussy cutting", just stamp and use the die to cut the image out.







No comments:
Post a Comment
Thank you so much for taking the time to look at my blog. If you like what you see, please sign up to follow me by email.